Table of Contents
If you've ever found yourself staring into the fridge at 7 PM with no idea what to cook — or worse, reaching for takeout for the third time this week — you're not alone. Meal prepping is the simple habit that can transform your relationship with food, save you hours each week, and help you eat healthier without the daily stress of deciding what to make. A 2025 survey by the International Food Information Council found that 67% of adults feel "frequently overwhelmed" by daily meal decisions, yet those who adopt a weekly prep routine report a 45% increase in overall diet satisfaction within the first month.
You can get started with just a few essential tools and a sample weekly plan. This system works for busy professionals, parents juggling multiple schedules, or anyone tired of the nightly dinner scramble—it's designed to be flexible, practical, and sustainable.
Why Meal Prep? The Benefits Are Real
Research consistently shows that home-cooked meals are associated with higher diet quality. A landmark study published in the American Journal of Lifestyle Medicine tracked over 10,000 adults and found that those who cooked at home at least five times per week were 47% more likely to have a healthy body weight and 30% less likely to develop metabolic syndrome compared to those who ate out frequently. Meal prepping makes home cooking practical even for the busiest people. Here are the key benefits, unpacked in detail:
The Time Factor: Reclaim Your Evenings
Instead of cooking every day, you batch cook once or twice a week. Most people save 4-6 hours weekly — that's over 200 hours annually, equivalent to nearly nine full days. When you factor in the time typically spent deciding what to eat, driving to a grocery store for forgotten ingredients, or waiting for delivery, the savings are even greater. One client I worked with reduced her evening stress from 45 minutes of frantic cooking plus cleanup to just 5 minutes of reheating, freeing up time for family, hobbies, and relaxation.
Financial Savings: The Real Numbers
Planning ahead reduces impulse purchases and food waste. According to the USDA, the average American household throws away about $1,500 worth of food each year. The average meal prepper saves $150-200 per month on food simply by buying ingredients in bulk, leveraging seasonal produce, and eliminating last-minute takeout orders. Over a year, that adds up to $1,800-$2,400 — enough for a modest vacation. Additionally, you'll likely reduce the 12-15% premium typically charged by delivery apps.
Nutritional Control and Consistency
When you prep, you control the ingredients, portions, and cooking methods. No hidden sugars, excess sodium, or mystery oils. This is particularly important given that restaurant meals average 1,200 milligrams of sodium — nearly an entire day's recommended limit in a single dish. By building your own meals, you can easily hit macro targets, incorporate more fiber and micronutrients, and avoid common inflammatory additives.
Additional advantages include:
- Reduces decision fatigue: No more "what's for dinner?" stress. Research shows we make over 200 food-related decisions daily; removing dinner decisions conserves mental energy for more important tasks.
- Supports weight goals: Portion control becomes automatic when meals are pre-portioned. A 2024 randomized trial found that meal preppers lost an average of 3.5 kg more over 12 weeks than those who didn't prep, largely due to reduced impulse eating.
- Environmental impact: Less food waste means reduced methane from landfills. A family of four can cut their carbon footprint by up to 500 kg CO2 equivalent per year through consistent meal planning.
Essential Equipment for Beginners
You don't need a professional kitchen to start meal prepping. In fact, a few well-chosen tools can make the process dramatically smoother. Here's the basic toolkit, along with practical tips on what to look for:
Why Glass Containers Are Worth the Investment
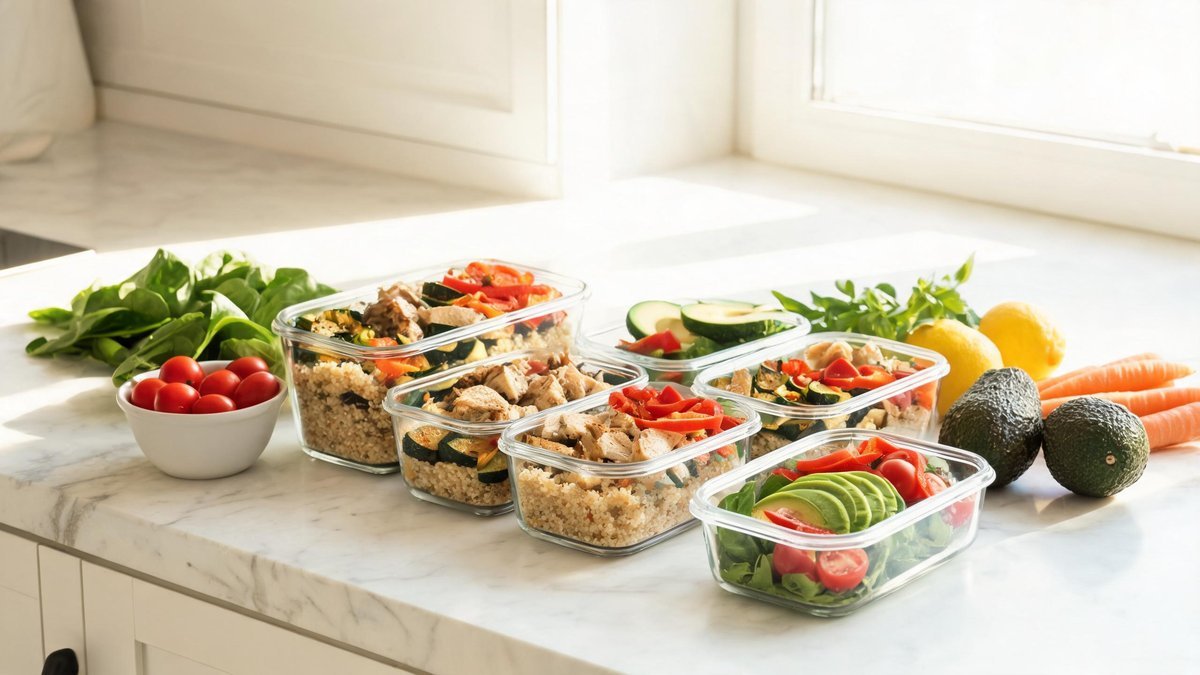
Glass meal prep containers (8-12 containers): Choose BPA-free glass with airtight, silicone-sealed lids. Glass heats evenly, doesn't stain like plastic, and is safe for microwave, oven, and dishwasher use. Get a mix of single-compartment (for grain bowls or salads) and 2-3 compartment containers (to keep components separate and crisp). A standard 30-ounce (900 ml) container works well for most adult lunches. Brands like Pyrex and Glasslock are reliable, but generic sets with good reviews serve perfectly. Expect to spend $25-40 for a starter set.
Other Must-Have Tools
Beyond containers, these items will streamline your prep sessions:
- Sheet pans (2-3, half-sheet size): For roasting vegetables and proteins in bulk. Look for heavy-gauge aluminum that won't warp at high heat. Lining with parchment paper cuts cleanup time in half.
- Large stockpot (8-12 quarts): Essential for cooking grains, soups, and pasta in batches. A heavy-bottomed pot prevents scorching.
- Mixing bowls (3-5 nested sizes): Stainless steel is durable and lightweight; one large bowl (5+ quarts) is invaluable for tossing salads or mixing meatballs.
- Sharp chef's knife (8-inch): Your most-used tool. A comfortable grip and quality steel (e.g., Victorinox Fibrox or a Mercer Culinary) will make chopping fast and safe. Budget $30-50 for a workhorse knife that holds an edge.
- Digital food scale (optional but worth every penny): If you're tracking macros or want consistent portion sizes, a scale eliminates guesswork. Accuracy to 1 gram costs under $20.
The 3-Step Meal Prep System
Step 1: Plan Your Menu (15 minutes)
Choose 3-4 recipes for the week. Pick recipes that share ingredients to reduce waste and simplify shopping. For example, roasted sweet potatoes can appear in a grain bowl for lunch and as a side with dinner salmon. A good formula for beginners:
- 1 breakfast option (e.g., overnight oats, egg muffins, chia pudding)
- 2 lunch options (e.g., grain bowls, mason jar salads)
- 2 dinner options (e.g., sheet pan chicken and veggies, stir-fry, chili)
- 1-2 snacks (e.g., cut vegetables with hummus, energy balls)
Start by bookmarking 5-10 simple recipes you genuinely enjoy. Rotate them to keep variety while reducing mental load. Also, consider your schedule: nights with late meetings might call for a no-reheat salad, while a saucy pasta dish might be better on a day you can reheat thoroughly.
Step 2: Shop Smart (30 minutes)
Create a detailed shopping list organized by store section (produce, protein, pantry, dairy). Stick to the list — studies show that shopping with a plan reduces impulse buys by up to 40%. To maximize efficiency:
- Check your pantry first to avoid buying duplicates.
- Shop the perimeter of the store (fresh produce, proteins, dairy) before venturing into center aisles.
- Buy grains and legumes in bulk to reduce packaging and cost.
- Consider a delivery or pickup service to further cut time and temptation.
It's also wise to set a grocery budget. Many prep beginners are surprised that their first "big shop" is higher than usual, but subsequent weeks balance out as pantry staples accumulate.
Step 3: Prep and Cook (2-3 hours)
Designate one prep day — Sunday works well for most people. Follow this order for maximum efficiency, utilizing overlapping cooking tasks:
- Start grains and legumes first: Rice, quinoa, lentils, or pasta take the longest and can simmer while you chop. Use a rice cooker or Instant Pot for hands-off cooking.
- Roast hardy vegetables on sheet pans: Sweet potatoes, broccoli, cauliflower, and carrots all roast beautifully at 400°F (200°C) with olive oil, salt, and pepper. Spread in a single layer and avoid overcrowding.
- Cook proteins: While the oven is on, bake chicken breasts or thighs, tofu slabs, or fish fillets. Season simply — a store-bought spice blend can save time. Grill marks add visual appeal and flavor.
- Wash and chop fresh produce: Lettuce, herbs, bell peppers, cucumbers. Consider prepping components that can be assembled later (e.g., keeping dressing separate from greens).
- Assemble containers and store: Use a "layer" method: grains on bottom, protein next, vegetables on top. Keep crispy elements like nuts or croutons in a small separate bag to maintain texture.
Professional tip: Set a timer and treat the session like a relaxed cooking show. Play music or a podcast, and clean as you go — a full sink is demotivating. The more you practice, the faster you'll become; experienced preppers often finish in under 90 minutes.
Food Safety Essentials
Safety is crucial when prepping meals for several days ahead. The USDA "Danger Zone" of 40°F to 140°F (4°C to 60°C) is where bacteria multiply most rapidly. Here's how to protect your food:
Cooling and Storing Correctly
Cool cooked food quickly before sealing containers to avoid condensation and bacterial growth. Spread hot food in a shallow layer (2 inches deep or less) and refrigerate within 2 hours of cooking. Never place a large pot of hot chili directly into the fridge; it can raise the internal temperature of the appliance and put other foods at risk. Using an ice bath for soups and stews speeds cooling.
Shelf Life and Freezing
- Most prepped meals last 3-4 days in the fridge when stored at 40°F (4°C) or below.
- Freeze anything you won't eat within 4 days. Soups, stews, casseroles, and cooked grains freeze exceptionally well. Wrap tightly in freezer-safe containers or bags, label with the date, and use within 3-6 months for best quality.
- Reheat to 165°F (74°C) internal temperature. Use a food thermometer to verify — it's the only way to be certain.
- Do not refreeze previously frozen meals that have been thawed.
- When in doubt, throw it out. Spoiled food may not always smell bad; slimy textures or off colors are red flags.
Sample Beginner's Meal Plan
Here's a simple, balanced plan to start with. It's designed to provide roughly 1,800-2,000 calories per day with a good mix of protein, fiber, and healthy fats, but adjust portions to your needs:
- Breakfast: Overnight oats with chia seeds, mixed berries (fresh or frozen), a tablespoon of almond butter, and a drizzle of honey. Prep 5 jars on Sunday; each takes 3 minutes.
- Lunch: Quinoa bowl with roasted chickpeas, cubes of sweet potato, massaged kale, and a tahini-lemon dressing. Roast sweet potatoes and chickpeas together on one sheet pan.
- Dinner: Sheet pan lemon-herb chicken thighs with roasted broccoli and a side of brown rice. Season with garlic, rosemary, and lemon zest. Two sheet pans cook enough for 4-5 meals.
- Snacks: Single-serve Greek yogurt (2% or full-fat) with a handful of almonds, carrot sticks with hummus, and sliced Fuji apples sprinkled with cinnamon.
Pro Tip: Start small. Prep just 2-3 days of meals your first week. Once you build the habit and learn which foods hold up well in the fridge, expand to a full week. Consistency beats perfection every time. Also, embrace "component prepping" — sometimes prepping just grains and roasted vegetables gives you the flexibility to assemble different meals daily.
Common Beginner Mistakes to Avoid
Prepping Too Much, Too Soon
Many novices go all-in, prepping 21 meals for the week and burning out by Wednesday. Start with 3 days, not 7. You need to discover which recipes you actually look forward to eating and how much variety you personally need. It's better to under-prep and supplement with a quick salad or omelet than to waste food and enthusiasm.
Making Bland Food
Season generously! Food loses some flavor during storage, especially when cold. Herbs, spices, acidity (lemon juice, vinegar), and sauces are your best friends. A simple rule: if it tastes good warm, it should taste slightly over-seasoned when you first cook it, because chilling mutes flavors. Keep a collection of versatile sauces — pesto, salsa verde, teriyaki — to add freshness just before eating.
Skipping Texture Variety
Eating the same soft texture five days in a row leads to palate fatigue. Aim for a mix of crunchy (nuts, seeds, raw vegetables), creamy (avocado, yogurt), and chewy (roasted vegetables, whole grains) elements. Store crunchy toppings separately to maintain contrast.
Improper Storage and Labeling
Investing in quality containers is pointless if you don't use them correctly. Always label containers with the prep date; a piece of masking tape and a Sharpie work fine. And avoid stacking containers directly on top of delicate salads, or you'll end up with a wilted, unappealing mess.
Final Thoughts
Meal prepping isn't about being perfect — it's about making your life easier and your diet healthier. Start small, find recipes you genuinely enjoy, and don't be afraid to adjust your approach as you go. Some weeks you'll prep everything; other weeks you might just wash and chop produce and call it a win. The goal is sustainable progress, not Instagram-worthy containers. Within a few weeks, you'll wonder how you ever managed without it.